You are currently browsing the tag archive for the ‘charcuterie’ tag.
We were looking for a dinner spot last Friday and wanted to try something new. I was in the mood for something casual and was pushing for Black & Blue near the Easton courthouse. My wife heard some good chatter at work about Emeril’s new place at the Sands and I could tell she had her heart (and stomach) set on it. It was already 5pm so I was surprised when she was easily able to make a 7pm reservation – we’ve since learned that Saturday is the busy night.
Overall, I was a bit disappointed. I was expecting something as stylish as Emeril’s Chop House across the casino floor, but it was much more casual. The restaurant runs along a wide hallway that extends from the back wall of the casino. There are 3 seating sections – a bar, a prep area, and the dining room. The bar had the most character with a view of the casino floor. The prep area gives you a view of the pizza oven and charcuterie cooler & slicer but the lighting was kinda bright. The dining room, where we were seated, was pleasant but had the vibe of a catering hall. (The curtain near our table clearly indicated that the dining room was designed to be closed off for private parties.) The arched beams leading to a huge chandelier were a nice detail, but the height of the ceiling, starkness of the walls, and view of the adjacent large hallway detracted from the intimacy we look for in rustic Italian dining.
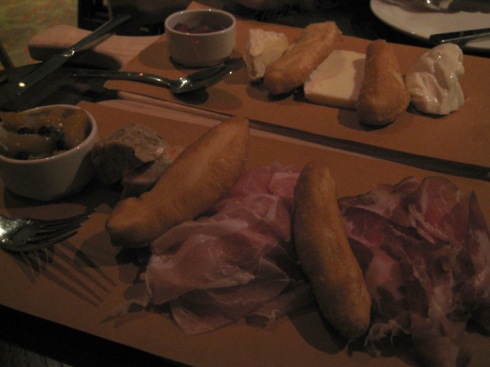
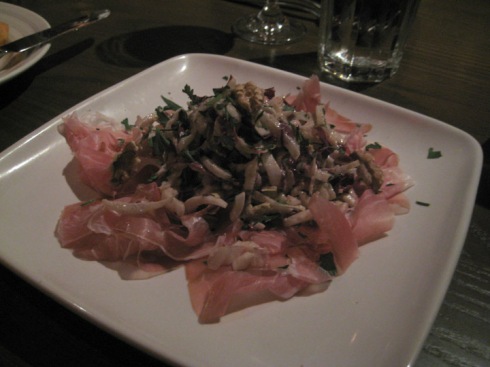
My main focus in the menu was the meat and cheese selection. We created a combination of 3 cheeses (burrata mozzarella, taleggio, and robiola) and 3 meats (prosciutto, coppa, and nduja) from a selection of maybe 20. They arrived accompanied by 2 different chutneys and some small (seemingly fried) breads. Everything was great except the little churro-like breads. They were chewy and stale. My wife also ordered the radicchio and endive salad.
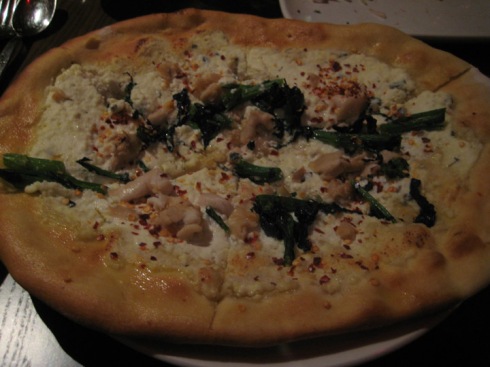
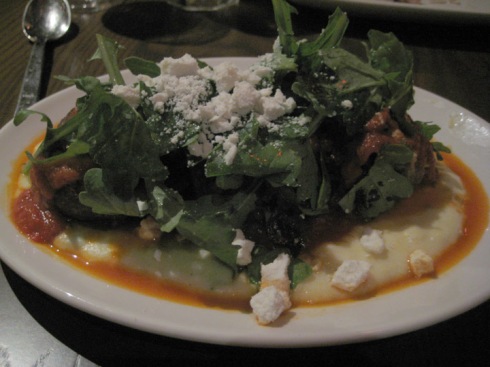
For our entrées, my wife went with the clam pizza and I ordered the meatballs. For a wood-fired pizza, it was rather bland. They need to take a page out of Sette Luna’s playbook and give their crust a lot more seasoning and color. The meatballs, though, were great. There were 3 of them covered in a rich red sauce and fresh arugula all on a bed of soft polenta. If I had one criticism, I would have plated it on a large dish. It really looked like a side order. And I had to take care to avoid splashing with so little room to maneuver on the plate.
The service was good except for one instance when the entrées arrived a few minutes before we were finished with our charcuterie. Our table was pretty well filled with dishes and cutting boards, but the server tried to force the entrées onto the table and take away our unfinished appetizers. I made him cool his jets, but I still felt I had to rush through the rest of the meat and cheese as our food was starting to get cold.
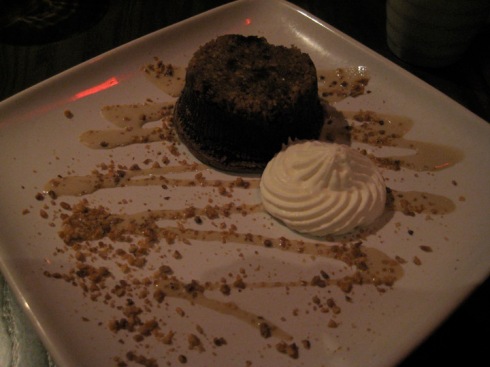
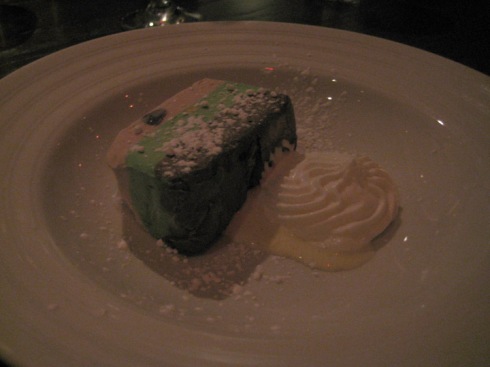
The desserts were petite and excellent. My wife enjoyed the dark chocolate-hazelnut tart and I had the spumoni torta.
We’ll likely go back but will probably be a little more specific about where we want to sit – and probably skip the pizza.
I had a bit of email dialogue with Michael Ruhlman and Brian Polcyn, authors of Charcuterie, to try to solve a problem with my first batch of saucisson sec. The flavor, color, and texture were great. But most of the links had air pockets running through their centers. On each of the three pieces below, you can see how the fibers stretch across the gap, as though the denser areas on either side of the gap pulled away from each other as the top and bottom collapsed inward.
Brian felt strongly that my auger-style sausage stuffer (a KitchenAid attachment) was introducing air into the sausage. He recommended switching to a plunger-style model or pressing the links like one would press sopressata. Since part of my reason for starting charcuterie (and cheese- and winemaking) is to save money, I don’t think i’m going to shell out for a $200 stuffer. I’ll keep my eye on Craigslist though.
Having used the KitchenAid stuffer a few times, I’m stubbornly convinced I’m not introducing air into the sausage. Trying to be scientific about it, I’ve made a second batch, changing only one aspect of my process. The sausages shown above were cured in 25-30% humidity, and I should have had it near 70% for the first week to slow down the drying. I really didn’t think it would be a problem with such small-diameter links.
I hesitate to set up the humidifier in such a small room in case I overdo it, so I’ve set up several large buckets of water and have been misting the room and the links several times a day and have been able to get the humidity to 50%. They’ve been hanging for a week and don’t seem to be shrinking quite as quickly as the previous batch. And no mold from the excess moisture so that’s good. I added a splash of vinegar to the spray bottle to keep the pH down and inhibit any undesirable microbes.
I’ve also started a nice piece of Bresaola. It will be in the fridge for another week before I hang it. The diameter is closer to 3 inches, so I’ll have to get the humidity up near 70% to prevent case hardening.
I picked up 4 pork cheeks (along with some shoulder, fatback, and sausage casings for my next project) from Baringer Bros. meats at the Allentown Farmer’s Market last week. I’ll do 2 cheeks to start and the other 2 in a couple months. Apparently the flavor is intense and a little goes a long way. Here is a condensed version of my prep. Consult Ruhlman’s Charcuterie for detailed instructions.
Step 1 – The obligatory and clichéd wearing of the cheek on your face like Hannibal Lecter.
Steps 2-4 – Trim off the skin, any stray sinew and fat. Combine with salt, sugar, garlic, pepper and fresh thyme. Refrigerate for 6 days.
Steps 5-6 – Remove from fridge, rinse off seasonings and pat dry. Punch a hole near the top and loop a string through for hanging. I had seen a preparation where the cheek was trussed with a sprig of rosemary so I copied it. Looks nicer and smells better. You can see that they’re firmer as they’re not laying flat onto the cutting board. Each lost an ounce of liquid during the curing. We’re looking for an overall loss of 30% of the starting weight.
Step 7 – Hung in the cellar. I attached tags onto which i can write the weights every 4-5 days. The aroma is a little pungent right now but it will get better as the water leaves. I’m hoping these are edible by New Year’s.
I really appreciate the drive to DIY before reaching for the credit card. There are certainly plenty of house/yard projects I have to hire someone for, but my first thought is always “Can I do it myself?”
When it comes to food, I understand my limitations and have enormous appreciation for skilled chefs and a good restaurant experience, hence this blog. That being said, I’m also somewhat frugal and am always looking to have a home dining experience that feels a step above the norm. It’s not only the result that I love – enjoying the process is key. And while cooking and baking can take up to a few hours per recipe, long-term recipes offer a whole different level of satisfaction.
Three time-intensive foods – wine, cheese and cured meat – also happen to be our idea of a heavenly meal. And I’m excited to say I’m close to achieving that trifecta at home.
I started winemaking a few years ago and have made cheese the last couple summers. Wines take a good two months from fermentation to bottling – plus at least 6 months of aging if you so choose. I’ve only attempted fresh cheese so far (mozzarella, chevre, feta and ricotta) which take a few hours to a few days. The next step would be aged cheeses (maybe brie or bleu) but the kits I’ve seen are a bit pricey. So I’m skipping ahead to salted, cured meats – aka charcuterie.
Inspired mainly by watching too much Anthony Bourdain, I started some research a couple months back and found that my basement conditions in winter are close to perfect. It’s an uninsulated stone foundation and sits right around 57º through March. We have a tiny room in the basement that had once housed a toilet and maybe a sink. The room had been partitioned with paneling that had taken on a fair amount of water damage at the base over the decades. We knew the whole setup was a mess but hadn’t touched it since we moved in almost 5 years ago. Now I had the perfect motivation.
I tore the walls down and poured a concrete slab on top of which the new walls would sit. This is the lowest spot in the basement and I don’t want any leaks damaging the new walls or spawning mold or mildew. I put up new studs and concrete backer board, and painted the brick wall and floor with mildew-resistant masonry paint. The new walls are covered in glossy white tile. The ceiling was the challenge. I originally wanted to enclose the pipes to keep the room as clean as possible. I decided the pipes were OK and hung a pine ceiling in 3 pieces to fit snugly around them. Twenty steel hooks were the final touch and I’m ready to hang some meat. I received Michael Ruhlman’s Charcuterie for my birthday last month and have decided to start with guanciale.

